Nimmo CHEF LINNÉA LETOURNEAU SHARES one of HER most well-loved and COMFORTING RECIPes
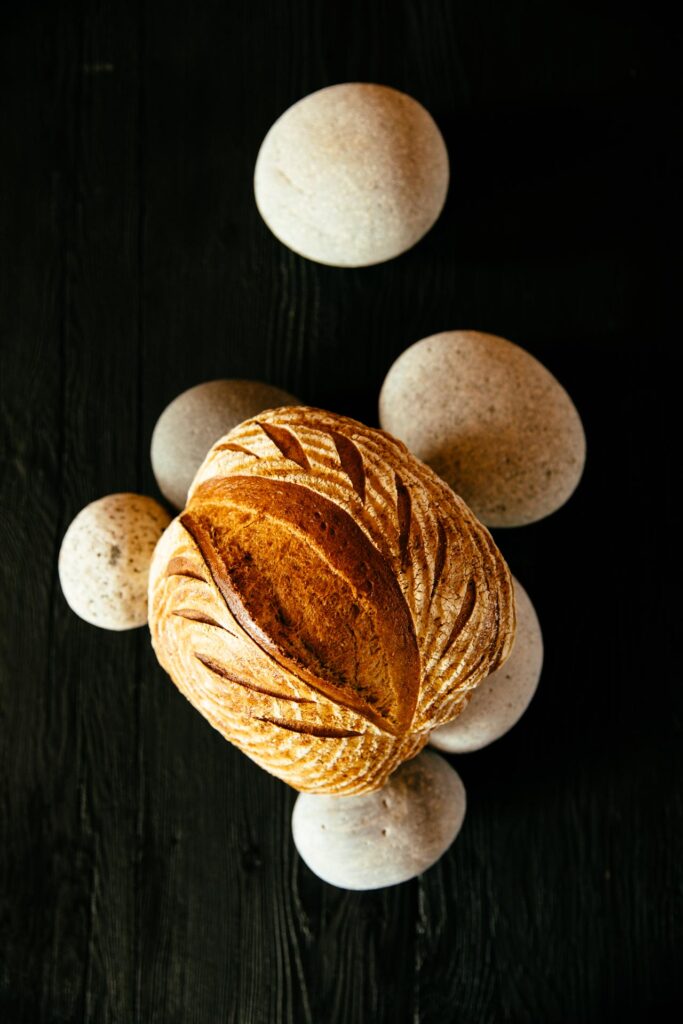
Almost as soon as the World Health Organization urged its global citizens to ‘stay home’ this past spring in an effort to flatten the curve of the pandemic, a second, albeit much more pleasant, citizen-led mission appeared to sweep the globe (or at least the internet) – that of sourdough bread making. What was once considered a task far too complicated for the home kitchen was suddenly elevated to a new status – an obtainable pinnacle of achievement for home chefs and budding bakers to reach with all their extra time at home. Of course, at Nimmo, our obsession with sourdough is nothing new. There’s nothing quite like the smell of freshly baked bread filling the kitchen at Little River with promises of melted butter – which is why we’re sure to bake this sourdough for our team, family and guests on a daily basis.
As far as breads go, sourdough is admittedly the most involved. You will need time in order to feed and nurture your starter, and patience as you work through the steps required to yield the perfect loaf. Join our chef Linnéa as she shares her ultimate step-by-step guide to mastering the art of sourdough. We look forward to breaking bread with you all!

Sourdough Bread Recipe
Yield: 3 loaves
Materials: a small scale, a thermometer, stand mixer, bread flour, rye flour, whole wheat flour, salt and a dash of patience.
step 1. prep your starter
Every morning between 9 and 10 am at Nimmo Bay, we feed our sourdough starter by discarding 80% of what is in the starter container and adding:
- 50g bread flour
- 50g whole wheat flour
- 50g rye flour
- 150g water (78°F)
Mix well then place your starter back in the fridge where she lives.
Every evening between 9 and 10 pm, we mix what’s called a levain, which is used to make our dough the following morning.
step 2. CREATE your LEVAIN
In the morning, mix the following:
- 50g starter (that was fed roughly 12 hours prior)
- 200g bread flour
- 50g whole wheat flour
- 200g water (78°F)
Mix well in a large bowl, cover and leave out overnight at room temperature.
The next morning between 9 and 10 am the levain should be ready (full of bubbles – if you drop a spoonful of levain in a bowl of room temp water, it will float if it is ready to use. This is called the float test!
If it doesn’t quite float you may need to wait a little longer.).
step 3. make your DOUGH
When your levain is ready, add the following to your large stand mixer bowl in this order:
- 1360g water (84° F)
- 425g levain
- 1400g bread flour
- 200g rye flour
- 200g sifted whole wheat flour (remove any large bran flakes)
Place your bowl on the stand mixer with the dough hook secured and mix on speed 1 (low speed) for 4 minutes.
Remove bowl and take out the hook. Cover loosely with cling film and allow your mixture to autolyse for 40 minutes.
Separately, weigh out 46g of salt.
Once 40 minutes has passed, add the salt to the bowl then place it back on the mixing stand and mix on speed 2 (medium speed) for 4 minutes.
After mixing, spray a large metal bowl with a very small amount of oil and pour in the dough mixture. With wet hands, gather the dough from one side of the bowl, lift up and stretch it (without ripping!) towards the centre of the bowl. Repeat on all four sides.
Cover the bowl with cling film to maintain a dough temperature between 80 and 85°F.
Repeat this folding method every 30 minutes for 2.5 hours (making a total of 5 folds). The dough should then feel aerated, billowy and soft.
Your dough is now ready to divide and shape. Gently dump the dough topside-down onto a clean surface with a bench scraper, being sure not to tear the gluten structure. Lightly flour the top of the dough and your hands to ensure they don’t stick.
Using your bench scraper, cut the dough into three pieces, each weighing approximately 1200g. Form these into tight balls using the tension of the dough on the work surface and your bench scraper in a rotating motion.
Note: Do not over work the dough, as this may release the gasses that you’ve spent the past few hours carefully forming thanks to the fermentation process. Lightly flour the tops of each dough ball and let rest on the bench for 30 minutes.
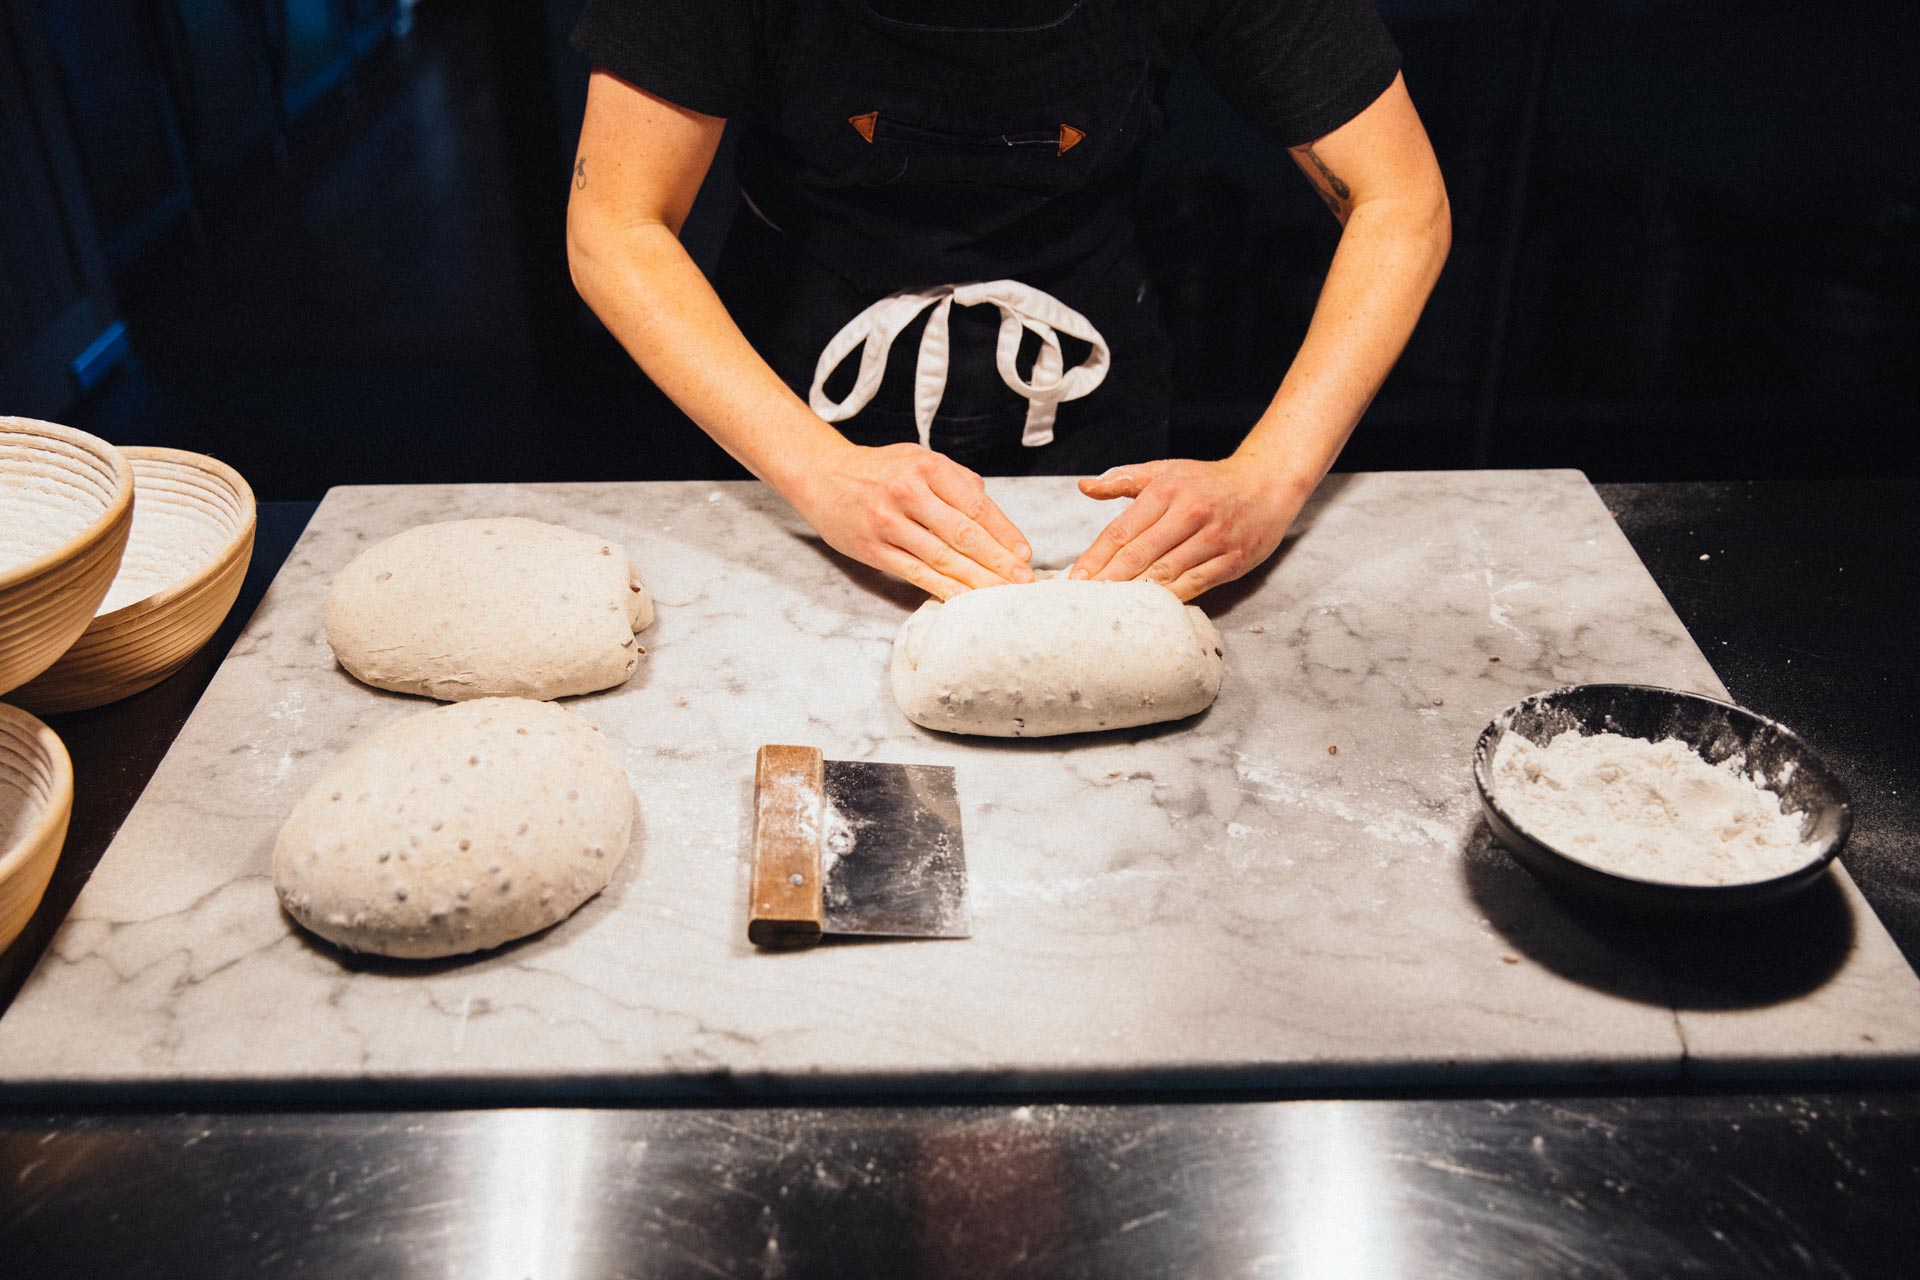
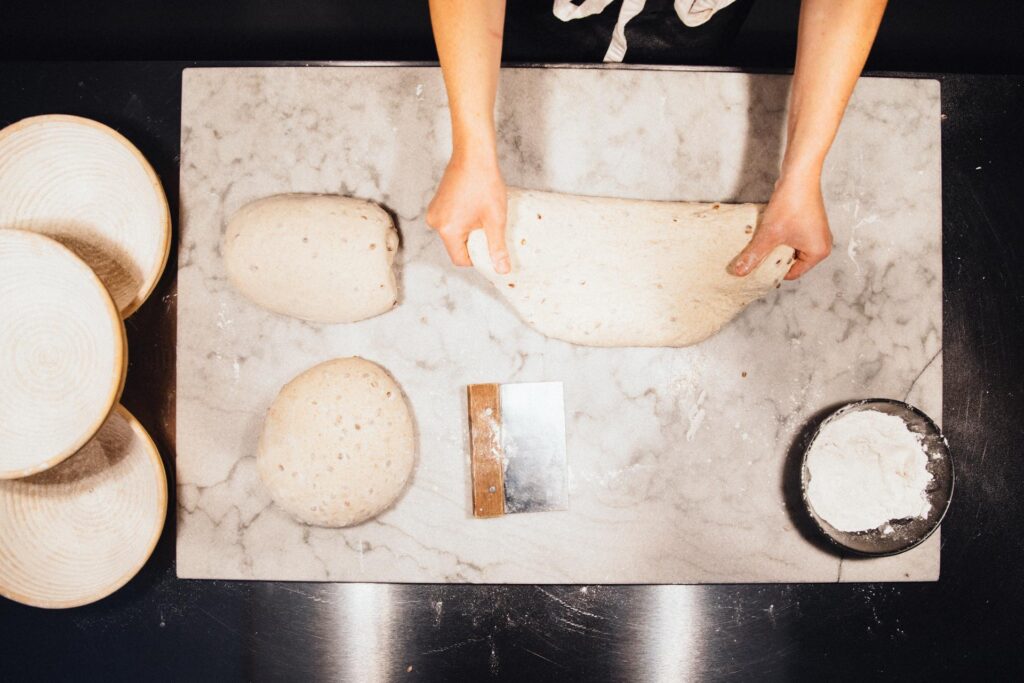
After the bench rest, you’ll need to do the final shaping. That’s right, you’re almost there! Flour your hands and use the bench scraper to get underneath your first dough ball and flip it over (flour side down) gently. Gently stretch the dough from right to left and then from the left side to the middle then right side over that (like a pamphlet). It should look long in shape from top to bottom now. Then fold the top down to the centre and the bottom up over the top and roll it over itself so the seams are underneath and the floured side is back on top. Do the same method for the other two dough balls and allow to rest on the bench again for 15 minutes to allow the seams to seal.
After 15 minutes, generously flour your bannetons or bread baskets with bread flour and, using the bench scraper, flip the dough over and gently place floured, topside down in the basket with the seam side up. Do this to all three loaves and then place in the fridge overnight.
step 3. time to bake
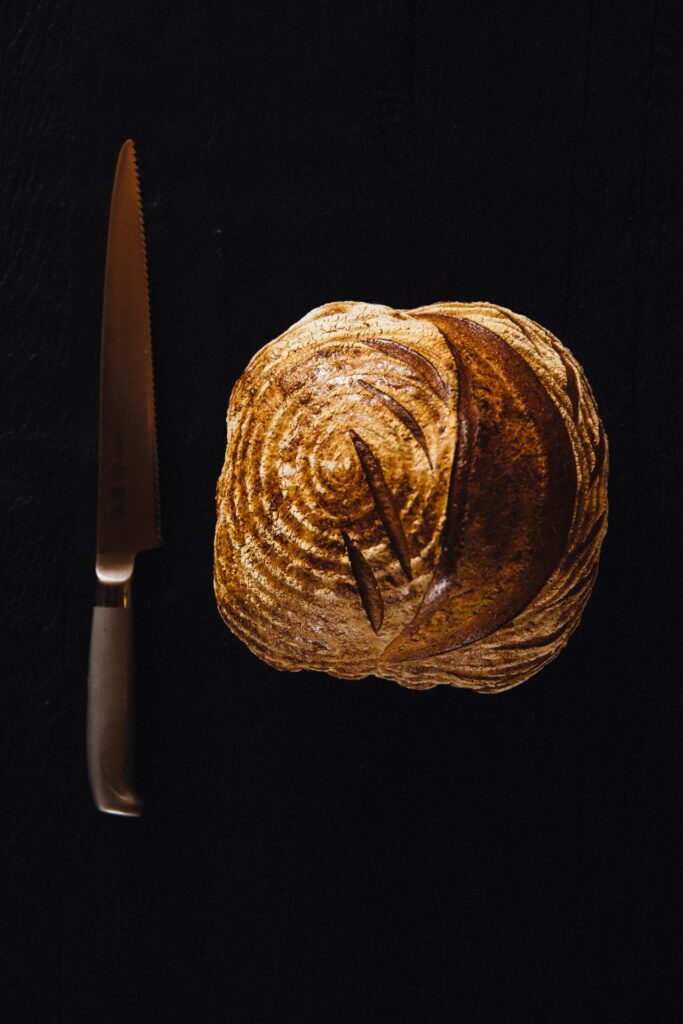
The next morning, 40 minutes before you are ready to bake, preheat your oven to 500°F with three well seasoned cast iron pans inside. Once oven and pans are fully heated, flour hands and carefully remove the dough from the banneton placing the seamed side down on the hot pan (floured side on top). Make a deep score in your bread with a razor or snip with scissors. Return to oven and do the same for the other two loaves.
Once all three are in the oven, place a small tray of water in the oven to create steam. After 10 minutes, reduce the temperature to 400°F and continue to bake for another 35-45 minutes. To ensure your bread is done, tap your fist on the bottom of each loaf (it should make a hollow sound), or use a thermometer to check the internal temperature of the loaf is at least 210°F.
Once done, allow to cool on a rack for at least 2 hours before cutting in to enjoy!